Ops Manager Learn 1: The Notebook
| Site: | GoLabs |
| Course: | Robotic Challenges with Python and GoPiGo |
| Book: | Ops Manager Learn 1: The Notebook |
| Printed by: | Guest user |
| Date: | Monday, 23 February 2026, 9:24 PM |
Description

This is the fourth challenge within the Robotics with GoPiGo and Python Curriculum.
Your task is to design a robot program that increases the volume of products that Amazing.com can ship out to its customers on a daily basis without increasing the number of robot pickers it employs.
Learn how to program and calibrate the Line Follower while they try to design an efficient system.
1. Upload the Notebook
For this mission, we have provided you with a template notebook file called picker.ipynb.
To open this in Jupyter Notebooks, do the following:
- Store the picker.ipynb file on your USB drive.
- Plug the drive into a USB port on your robot.
- A USB-Drive folder will appear in the file explorer of Jupyter Notebooks. Double-click on this to open the folder.
Double-click on the picker.ipynb file to open it.
The picker.ipynb notebook contains several code cells. Some are pre-populated for your convenience, some are empty. You will be writing the code for the empty cells.
2. Robot Setup Code
This cell contains the code to create an instance of the EasyGoPiGo3 robot class and assign the name picker to it.
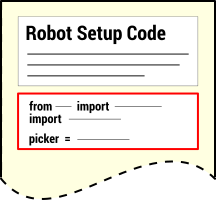
What line of code instantiates the robot and assigns it a name?
3. Template Functions
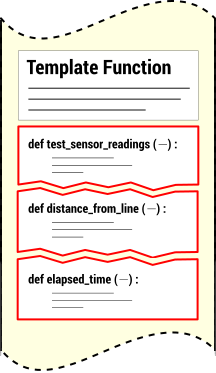
We have provided some pre-written functions for you. These will allow you to perform some useful mission-related tasks without having to know precisely how they work.
A description of these functions, along with some example usage, is provided in the markdown cells within the notebook.
4. Sensor Setup Code
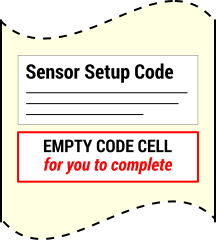
In this mission you will learn how to use the line follower sensor. In this cell you will create an instance of this sensor and tell our code which port we have plugged it in to so we can tell how far and in which direction the line is from the center of our robot.
Later in the LEARN section we will help you write the code for this cell.
5. Variable Initialization
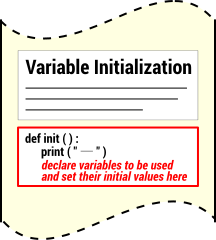
You will find a cell with an empty init() function where you can declare all your program’s variables and give them sensible initial values.
6. Main Code
This is the cell where you will write your project code.
7. Test Code
This cell contains commented out calls to the pre-written template test_sensor_readings().
Later in the LEARN section we will show you how you can use these to test the line follower whenever you need to.
8. Next Step
You are now ready for the first build session : Ops Manager Learn 2: Build and Calibrate . It is needed for the rest of the mission.