01 Mission Instructions
| Site: | GoLabs |
| Course: | GoBox |
| Book: | 01 Mission Instructions |
| Printed by: | Guest user |
| Date: | Saturday, 25 July 2026, 8:01 PM |
Description
This GoBox Mission can be completed by anyone with a GoPiGo robot. You do not need any additional sensors to complete the Obstacle Course.
For additional Obstacle Course resources, check out the GoBox course summary page.
If you enjoy this Mission, sign up for GoBox to receive access to the other 11 Missions - and have the sensors that go with them shipped to your house monthly! [link to Missions-Only Product Page]
1. Problem
GoPiGo robots everywhere have a problem. They are freshly assembled and ready to tackle the world’s problems, but they are stuck in the garage.
After such careful construction, it is time to free the robots and unleash them on the world!
Your mission — create an obstacle course for your robot, and program it to navigate past all the obstacles!
2. Design: Obstacle Course

Your robot is capable of many things! Today, we are going to try out the motor commands and put your robot through its paces. To do this we will need a simple obstacle course to drive your robot through.
Choose a place in your house with plenty of room for your GoPiGo to maneuver and plan to place your finish line far enough from your robot garage to give yourself a little challenge. Keep your obstacles simple and leave lots of room — your GoPiGo may not be ready for super tight turns, or squeezing behind your couch.
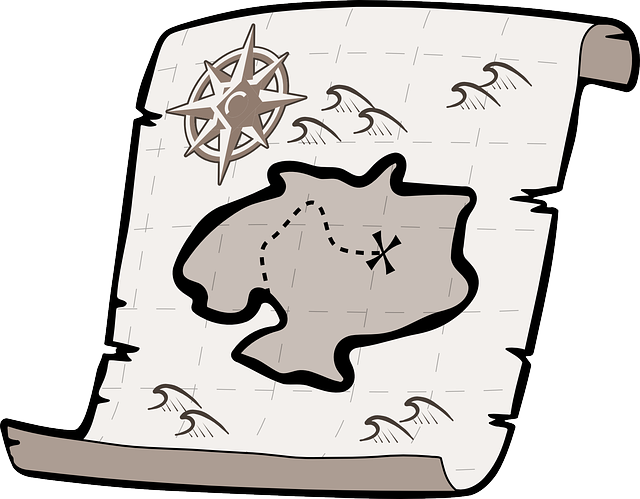
On a piece of paper, sketch your room and mark the place where you will put your robot and garage and mark the finish line with an “X”. Also sketch in any furniture and other obstacles — we will need this information when we start coding!
3. Design: The Program
Next, you need to design your program. Even if you’ve never written a program before, you can plan the directions you want to give your robot in English. Pretend your robot knows the words forward, backward, right, left and stop. How would you give him directions from the garage to the finish line?
Look at your map to double check your directions, and write them on a piece of paper.
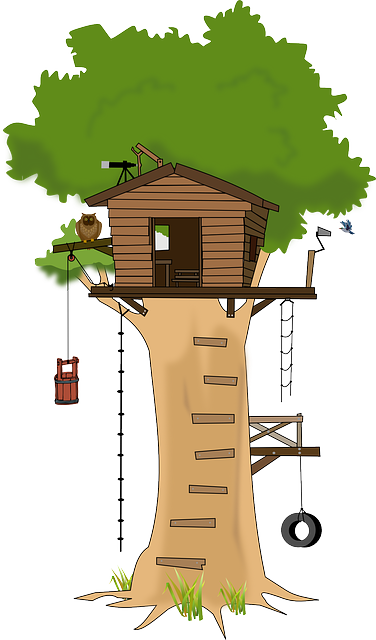
4. Build
![]()
Now it is time to take your carefully drawn plans and make them real. Set up your garage, arrange any obstacles and mark your finish line. You may want to check with someone before you put tape on the floor or move any furniture!
Double check your setup against the map you drew to make sure they match — we will be using your map to write the program.
5. Code
You may have built a nice garage for your GoPiGo, but now your robot is sitting forlornly on the ground where you left it, refusing to come out and explore the world. If you want this robot to listen to you, you are going to need to learn to program.
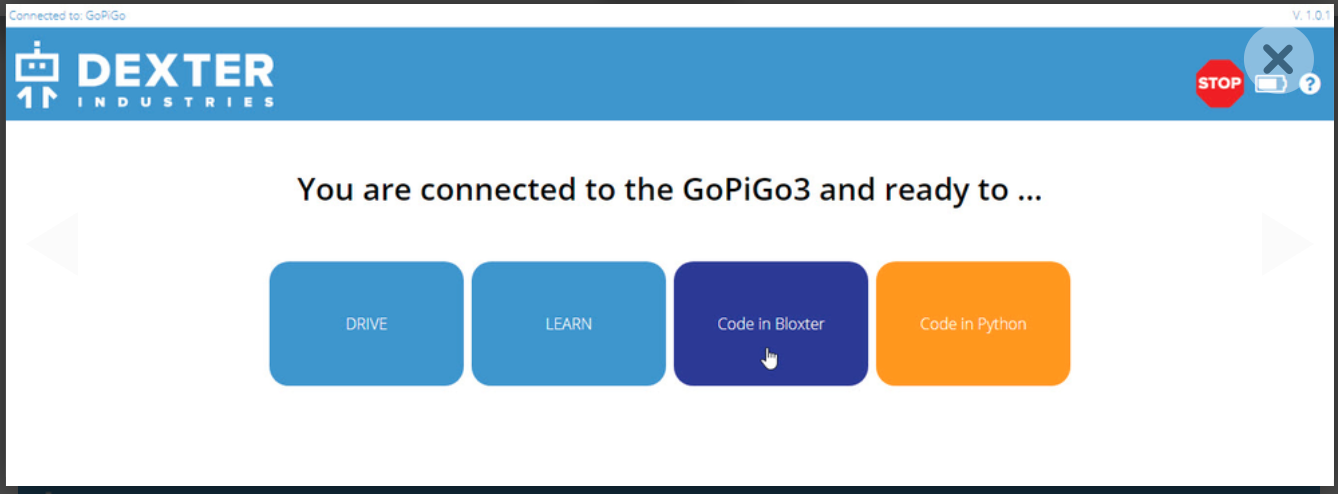
Make sure your computer is connected to your wifi network, turn on the GoPiGo, and connect to the robot.
Once you connect, click on the "Code in Bloxter" button.
When you are ready to program, make sure your GoPiGo is in a safe place. It can be easy to accidentally turn on the motors when you are programming. So choose one of these safe robot positions:
- Set your GoPiGo on the floor, with plenty of room to move around safely, or
- Flip it upside down onto its back, so that the wheels can spin freely without moving the robot.

Go back to your plan from the Design phase of this mission.
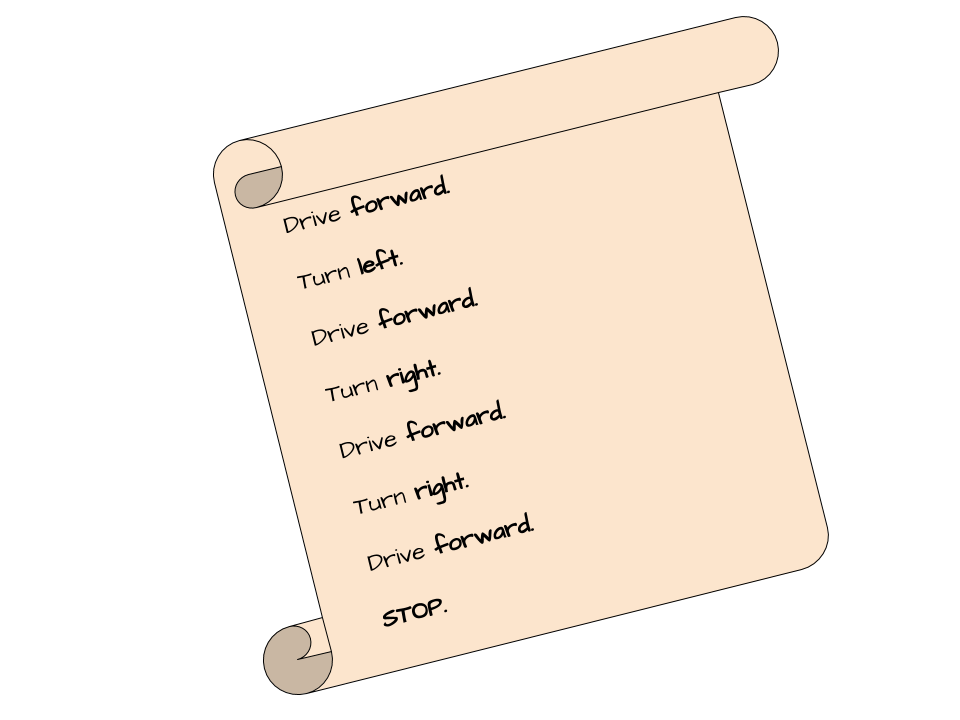
Now you will rewrite your plan in language the GoPiGo can understand. Here's an image that might help you turn your written plan into code.

Your exact program will depend on the location of your garage and finish line, but you may come up with something similar to this.
You might notice some interesting numbers in our example code. When we tell the robot to turn LEFT, we tell it to keep doing that for 0.5 seconds instead of one second. Why? In our case, a one second turn would be far too long.
We’d like to turn for about half as long. In Bloxter, we can’t type in a fraction like ½. We have to turn it into a decimal and type 0.5. (It'll look just like the way Americans write down cents instead of dollars). If your robot needs to make quick turns, or travel some short distances, try using decimals instead of whole numbers!
Make sure to add a “stop GoPiGo” at the end!
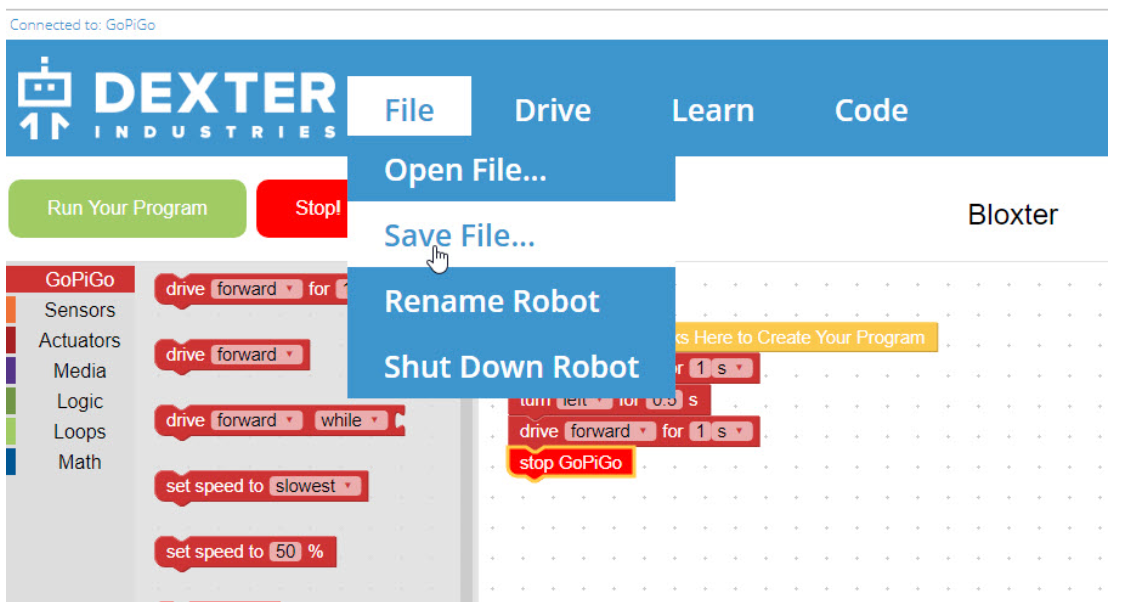
Whenever you change your program, save it! Otherwise it will be deleted when you turn off your robot. You can save it on the SD card or on a USB key.
To save your program, click on the File button, then Save File.
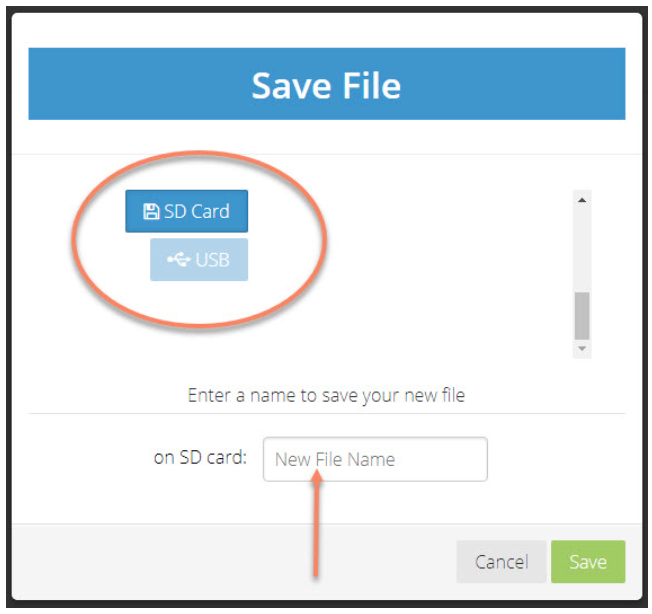
Use the dropdown menu to choose where to save your file (SD card or USB key). The name for your program cannot contain spaces.
6. Test
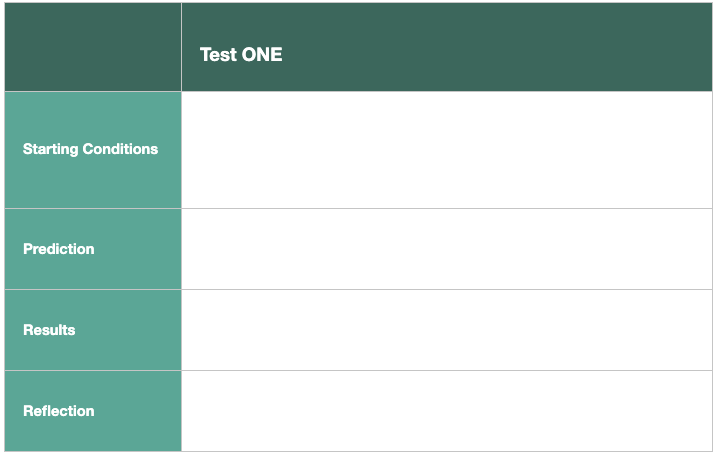
Every time we test our robot, we start by making a test plan.
In this case, you will start every test with your robot in the garage you created. Just like buildings, your garage should stay in the same place throughout this mission.
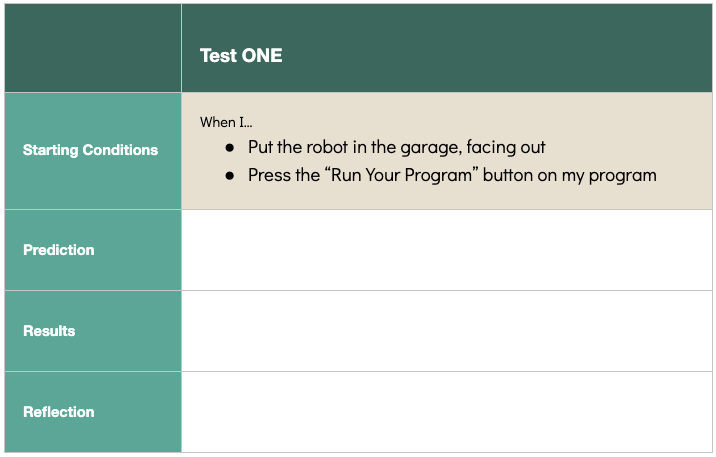
A test plan should list the starting conditions of the test. In our case,
- we will put the robot in the garage,
- facing out, and
- press the "Run Your Program" button on our computer.
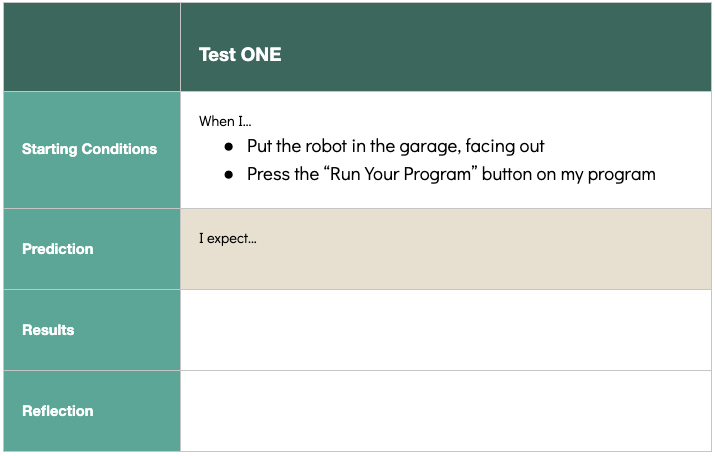
Then, before you run the test, write down what you would like to happen, called a Prediction.
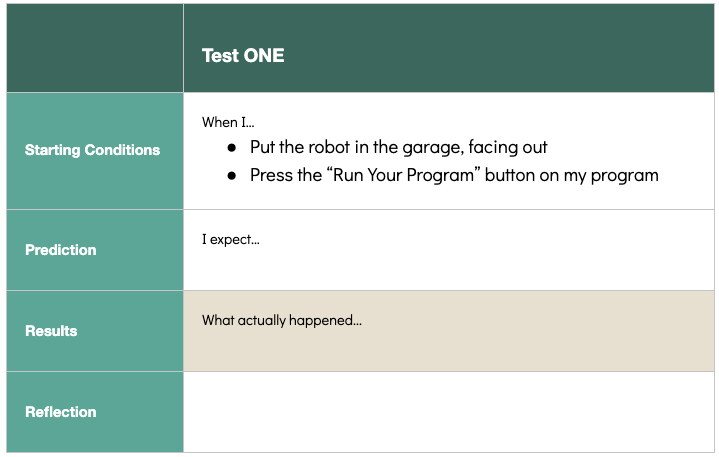
Finally, set up your start conditions and record what actually happens (your Results).
Be prepared for your program to not work perfectly on the first try! Computer scientists spend most of their time troubleshooting their programs, not actually writing them from scratch!
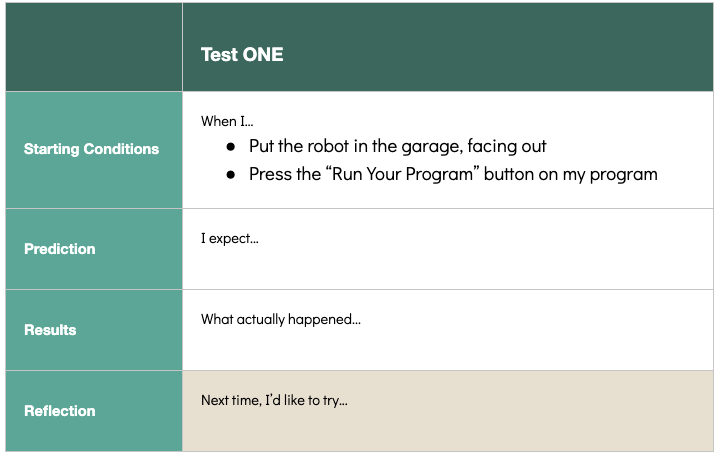
Record any thoughts you had during your first test (Reflection).
Then move on to iterate.
7. Iterate
If your robot did not succeed on its first try.
Welcome to the club! It took us so many tries, we lost count! It's normal.
In engineering, we try a solution, think about what needs to change, and then we iterate.
Before you start making changes to your program, save your file again and add a version number to your file name – you never know when you might want to take another look at an older version.
Here's an example: Obstacle_Course_v1
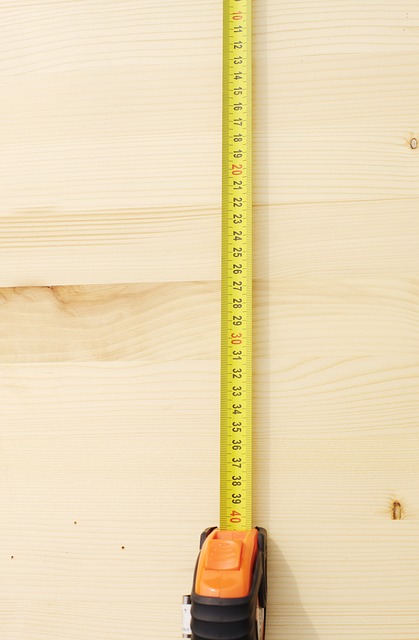
As you revise your program, here is a trick you might want to try.
Set your GoPiGo next to a yardstick or measuring tape. Now, write a program that drives your GoPiGo forward for exactly 0.5 seconds. How far did it go? Can you use that information to make your program more successful?
Keep iterating, keep trying, and before you know it, your robot will be driving all over your house, looking for adventure!
If your robot completed the obstacle on its first try....
Wow! Even we didn't pull that off! If this happened to you, you might need to make your obstacle course a little harder. Try adding a few more obstacles and changing how far apart they are from each other.