Learn 1: The Notebook
| Site: | GoLabs |
| Course: | Robotic Challenges with Python and GoPiGo |
| Book: | Learn 1: The Notebook |
| Printed by: | Guest user |
| Date: | Monday, 29 June 2026, 8:42 AM |
Description

This is the fifth challenge within the Robotics with GoPiGo and Python Curriculum.
Your task is to design a robot program to deliver a selection of mail to the residents of GoPiGo Drive, a small cul-de-sac containing 3 houses.
Learn how to how to use and calibrate the color sensor.
1. Upload the Notebook
For this mission, we have provided you with a template notebook file called mail.ipynb. To open this in Jupyter Notebooks, do the following:
- Store the mail.ipynb file on your USB drive.
- Plug the drive into a USB port on your robot.
- A USB-Drive folder will appear in the file explorer of Jupyter Notebooks. Double-click on this to open the folder.
- Double-click on the mail.ipynb file to open it.
The mail.ipynb notebook contains the code cells in the following chapters. Some are pre-populated for your convenience, some are empty. You will be writing the code for the empty cells.
2. Robot Setup Code
This cell contains the code to create an instance of the EasyGoPiGo3 robot class, assign the name carrier to it and initialize it to start with its eyes closed.
import numpy as np is used to bring in serious number crunching so that we won't have to do as much work.
import threading is used to allow Python to do things in parallel. We won't delve on how it works but we will use it for data analysis later on.
3. Interactivity Setup Code

One of the really cool things about Jupyter Notebooks is that you can build interactive behavior right into your Notebook cells.
In this mission we will be introducing you to notebook interactivity by making use of clickable buttons and live auto-updating graphs. This cell contains the code that is necessary to set the notebook up for this.
4. Sensor Setup Code
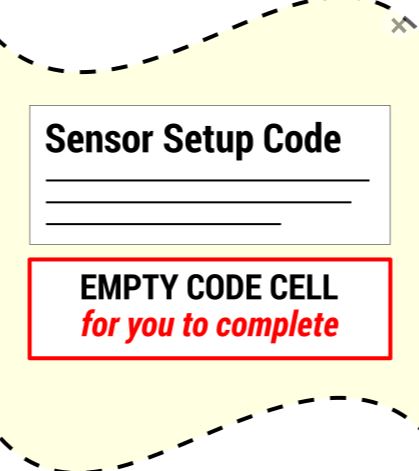
In this mission we will be reusing the line follower sensor as well as learning how to use the color sensor.
In this cell we will eventually:
- create instances of both of these sensors a
- tell the code which ports we have plugged them in to.
Later in the LEARN section we will help you to write the code for this cell.
5. Variable Container Class
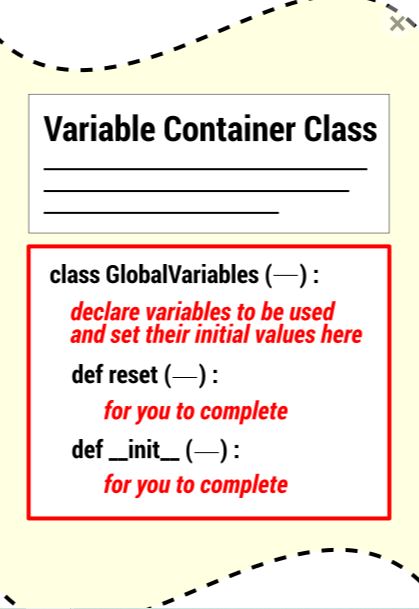
In this mission we will be creating a simple container class to carry all our variables around in, as well as the robot and sensor objects that we’ve initialized. This makes declaring relevant objects and variables as global within our function definitions much simpler.
In this cell we have provided an empty class structure within which you will be declaring and initializing all your program’s objects and variables.
In computer science, a container class is a collection of other objects. In other words, it stores objects in an organized way. Think of putting loose LEGO bricks inside a plastic container to make them easier to carry and store.
6. Variable Initialization
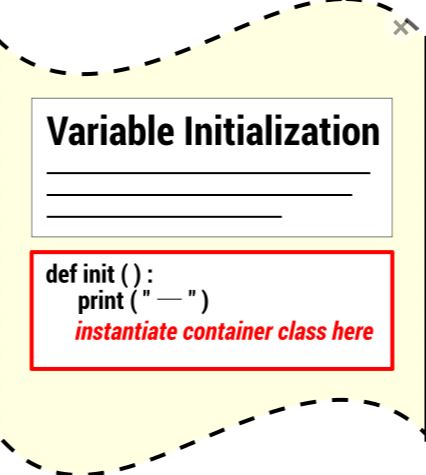
In this cell we have provided an empty init() function.
Instead of declaring and initializing global variables here, as we have done previously, you will be asked to write some code to instantiate the variable container class that you will be creating.
7. Line Follower Template Functions
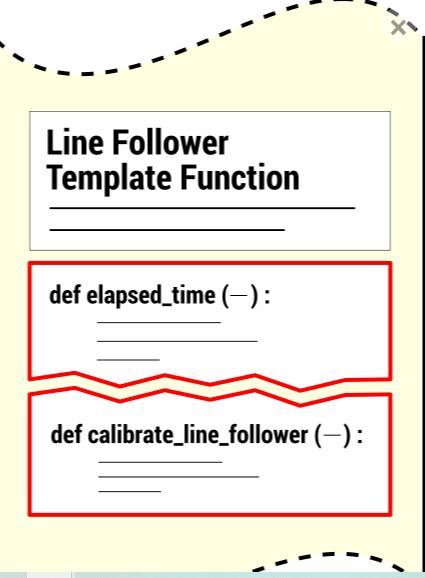
To save you retyping old code we have taken relevant line follower template functions from the Robot Operations Manager mission and copied them into this cell so that you can re-use them in this mission.
Code reuse is a common practice in the IT industry. After all, there is nothing to be gained by re-inventing the wheel.
8. Template Functions

We have also provided some additional template functions for you.
These will allow you to perform some useful mission-related tasks without having to know precisely how they work.
A description of these functions, along with some example usage, is provided in the markdown cells within the notebook.
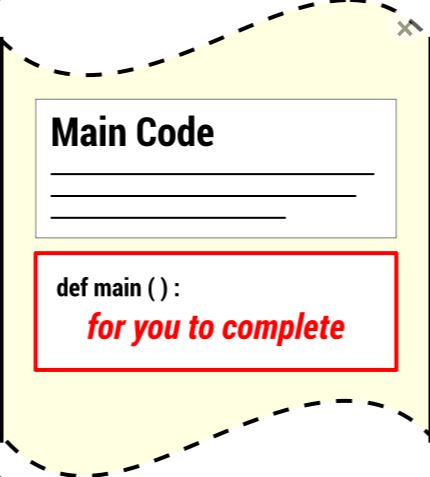
9. Main Code
10. Interactive Control Code
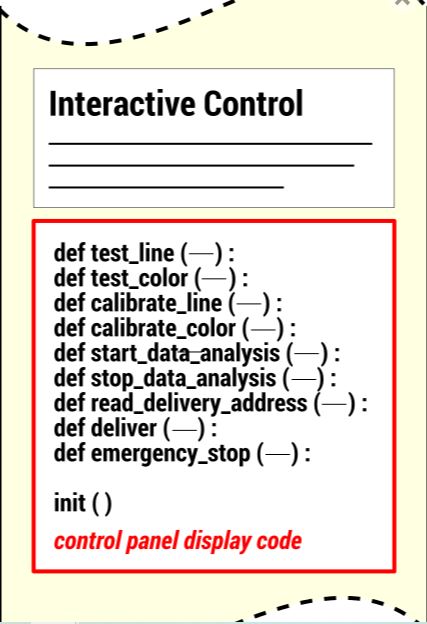
In previous missions you have instructed your robot by manually running code cells. This time, you will be controlling your robot by the click of a button.
In this cell we have written some code for you that, when run, displays those buttons in your notebook and responds to button clicks by calling the relevant functions in the Notebook for you.
We have provided buttons for the following actions:
- sensor testing & calibration,
- graphical analysis,
- reading the address (color),
- delivering the letter
- performing an emergency stop (a fail-safe option).
11. Data Analysis Code
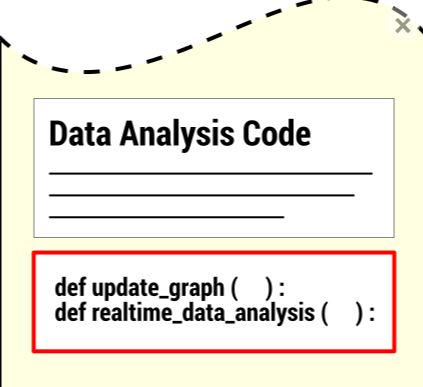
In previous missions you have tested your sensors by printing readings in the notebook.
In this mission we are going to show you a really neat way of continually monitoring your robot’s sensor readings using a live updating graph.
It’s like reading the mind of your robot in real time!
This cell contains the code that will display and update that graph for you.
12. Next Steps
You are now ready for the first build session : Courier Learn 2: Build and Calibrate
Or you may go back to the main lesson : Autonomous Mail Courier