Main Project: Delivery Route
| Site: | GoLabs |
| Course: | Robotic Challenges with Python and GoPiGo |
| Book: | Main Project: Delivery Route |
| Printed by: | Guest user |
| Date: | Monday, 29 June 2026, 1:43 PM |
Description
This is the fifth challenge within the Robotics with GoPiGo and Python Curriculum.
Your task is to design a robot program to deliver a selection of mail to the residents of GoPiGo Drive, a small cul-de-sac containing 3 houses.
Learn how to how to use and calibrate the color sensor.
1. The Challenge
Amend the code that we’ve developed in the learn section to read three color coded cards (red, green & blue) and deliver them to the correct houses on a delivery route.
2. Construct a Delivery Route
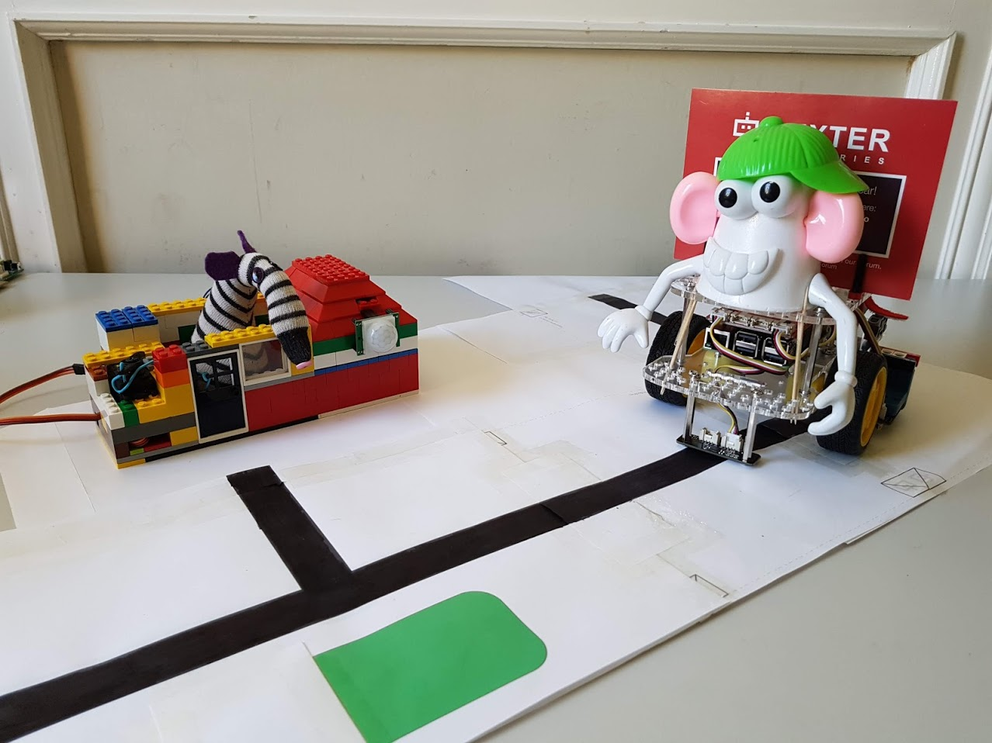
Using printed line follower template sheets and color-coded sheets, create a delivery route for your courier to follow with a delivery depot at one end and 3 different colored houses (marked by red, green and blue color-coded sheets) at the other.
We’ve provided an example delivery route below for inspiration.
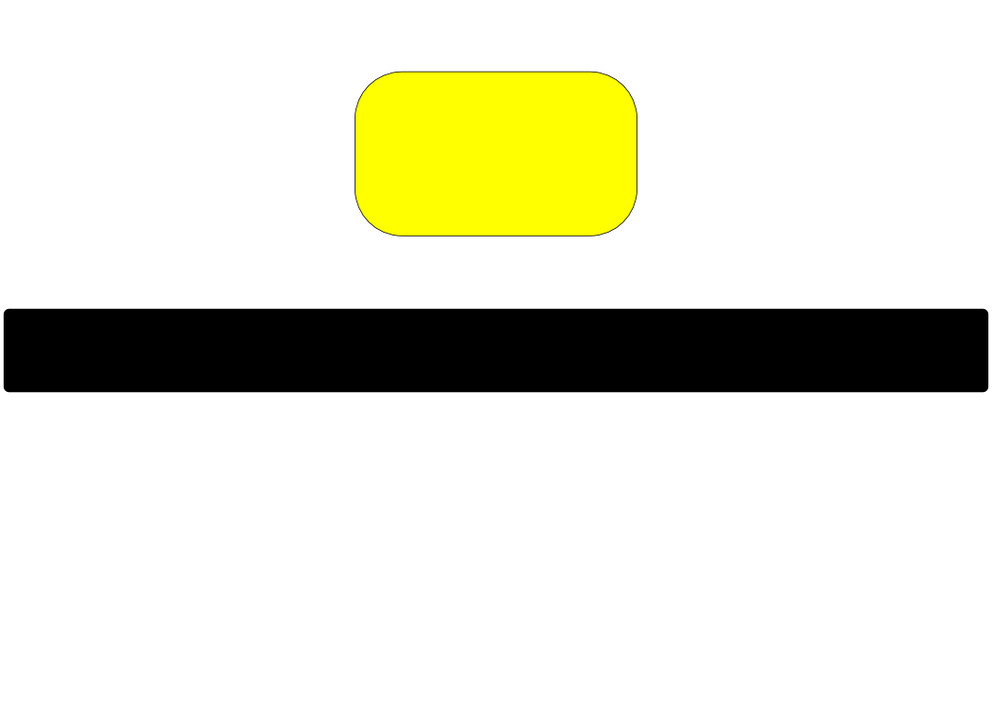
The driveways should consist of two color coded straight path sheets exactly as shown below. However, you are free to design your pavement any way you like.
We've included the images to print in the next few steps for your convenience.

3. Printable Driveways
Click on an image in order to print it!

4. Printable Intersections
Click on an image to print it!


5. Fill a Post Bag
Create a set of red, green & blue color coded cards to read and deliver by taking some white cards (postcard-sized is good) and coloring one corner with a colored marker.
Alternatively, you can print extra pages from the previous chapters, and cut out the appropriate colored section.
6. Personalize your Courier
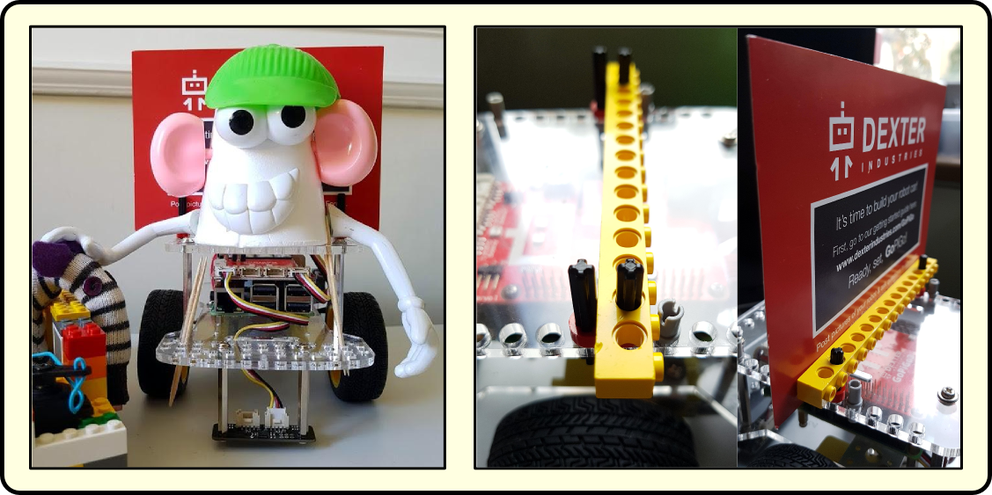
Your courier is going to be customer-facing. Using whatever materials you have to hand, create a personality for your robot by giving it some human-like features.
customer-facing: a robot, an app, or any piece of technology that humans will interact with directly. Special care has to go into good usability, friendliness, and appeal.

Design and build a mechanism on your robot courier for holding the card to be delivered. Some images are provided for inspiration.
7. Instruct Your Robot: Read the Address
To know where to deliver a card, the courier must first read its address. Complete the read_delivery_address function in the Interactive Control Code cell so that the robot performs the following actions when you place a color-marked card under the color sensor and click on the Read Address button:
- read the address from the color-marked card
- store this color in a variable that will be accessible to your Main Code cell code
- light up the courier’s eyes in this color as a form of visual feedback
8. Instruct Your Robot: Deliver and Return
Amend the code in the Main Code cell so that when you click on the Deliver Letter button the robot delivers the card from the delivery depot to the correct house and returns to the depot, ready to take the next instruction.
Considerations: How will your courier find its way back to base after delivering the card?
9. Test Your Code
Coverage testing
Does your code work for all three colors? Repeat the read, deliver & return routine three times, once for each color marked card, so that you’ve delivered a card to every house.
Test for failure cases
It is important to think about ways in which your program can fail and code up sensible responses for those situations. Consider what you would like to happen if you press the Deliver Letter button before you’ve read the address. Code up and test for that behavior.

10. Try It Out
Don't run your code right away!
Move on to the Try It Out lesson when you've coded the rescue mission.
The Try It Out Lesson has things to consider before you run your code.