GiftBot
| Site: | GoLabs |
| Course: | GiftBot |
| Book: | GiftBot |
| Printed by: | Guest user |
| Date: | Wednesday, 29 July 2026, 8:08 PM |
Description
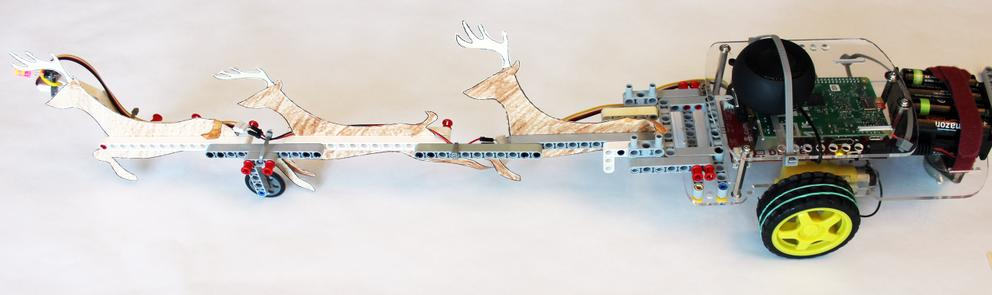
1. GoPiGo Assembly
First, we’ll assemble the GoPiGo.
You can find assembly instructions and videos here. This should take less than 30 minutes to put together. We attached speakers on the top of the GoPiGo with a zip tie.
2. Print and Cut Reindeer
Next, we’ll print and cut out our reindeer.
We’ll need a picture of a reindeer to get going. You can click on the stencil below for a larger version. All credit goes to “FreeStencilGallery.com” for the image!

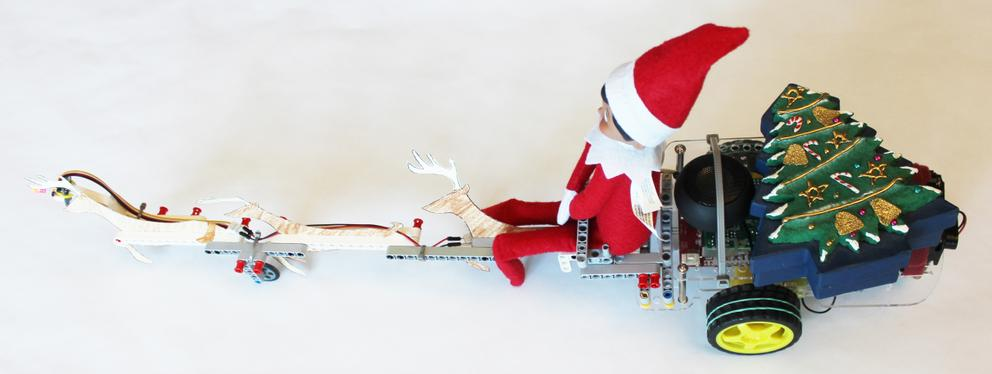
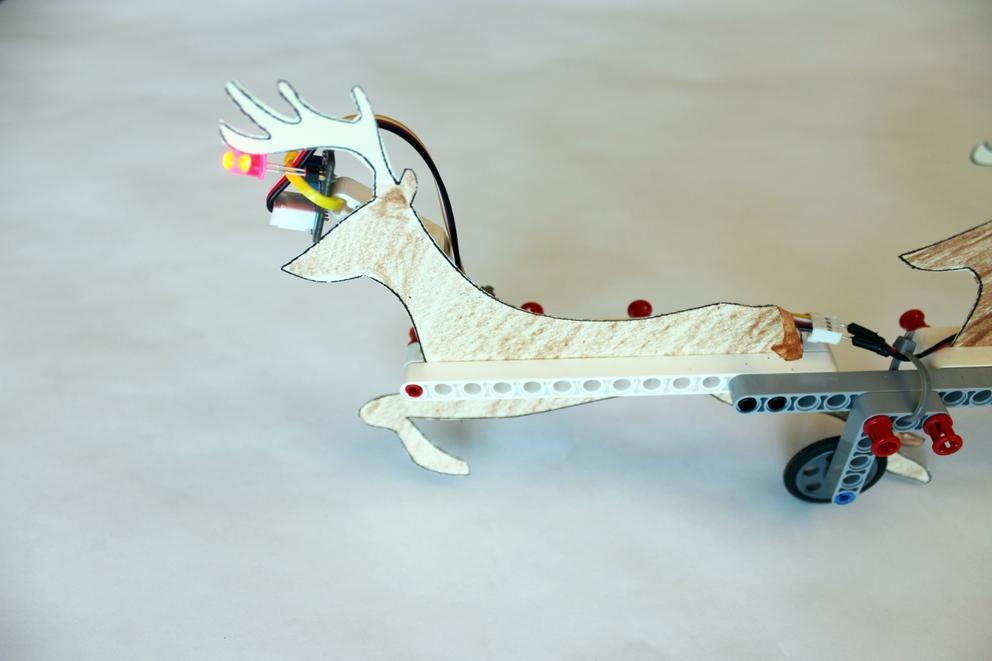
3. Build Reindeer Harness
Next, we’ll build our reindeer harness.
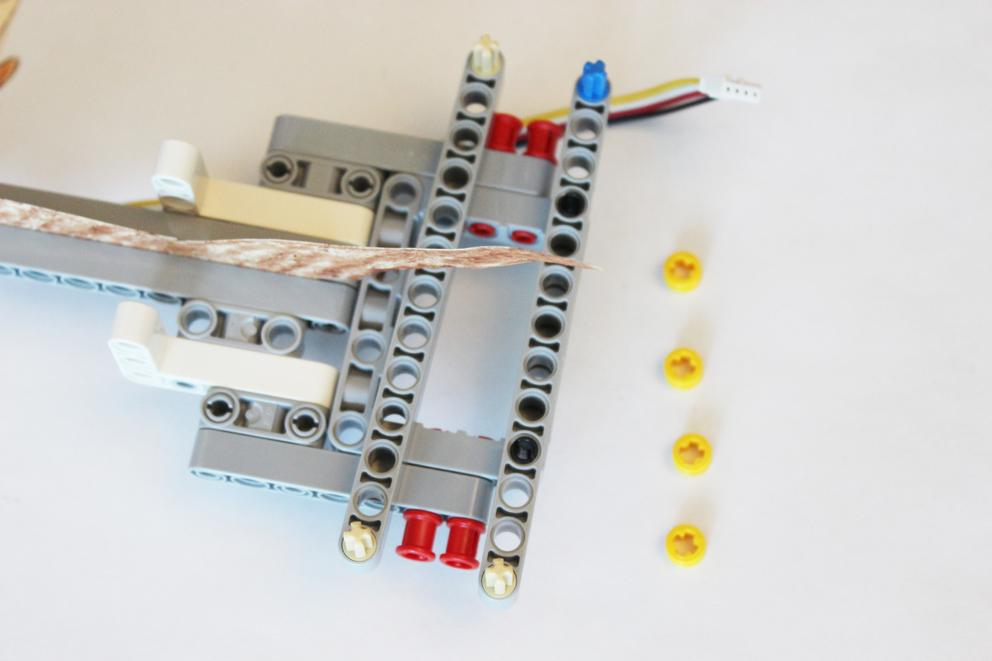
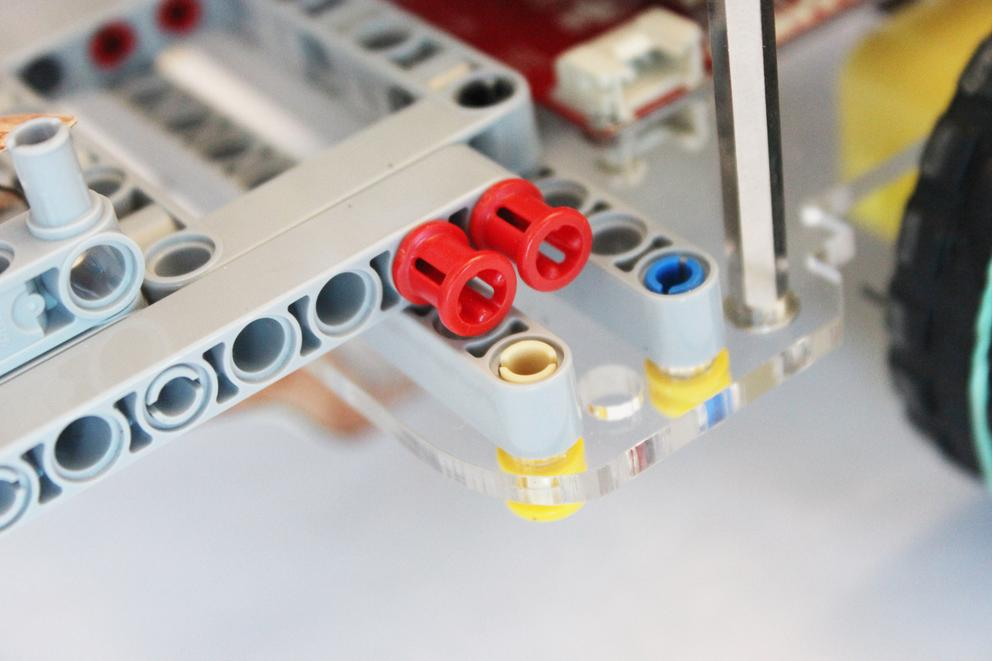
The GoPiGo has holes that are perfectly spaced for LEGO Technic beams and parts, so we built the harness for the reindeer out of LEGO Technic.
We squeezed the reindeer between two LEGO beams, and linked them together, attaching the harness to the front of the GoPiGo chassis.
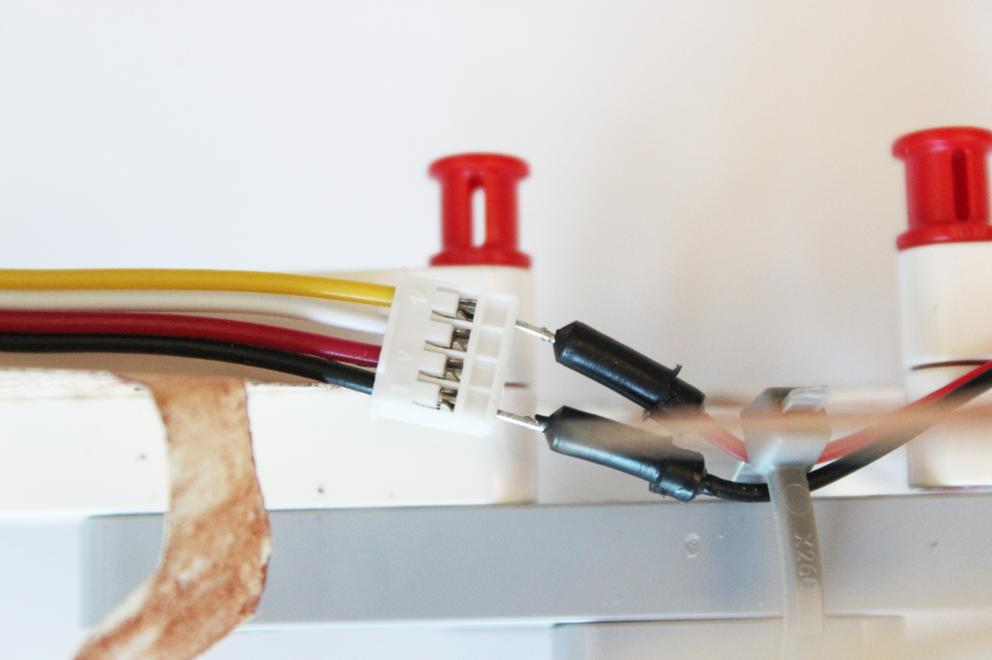
4. Add the Reindeer Nose
Rudolf needed a reindeer nose. So we added one. We strung two Grove cables together to connect the front of Rudolf with the GoPiGo. We used jumpers to add some length, connecting the black and yellow lines of the Grove cable. We attached the LED to the analog port, and we tied the LED to the LEGO frame with a zip tie.

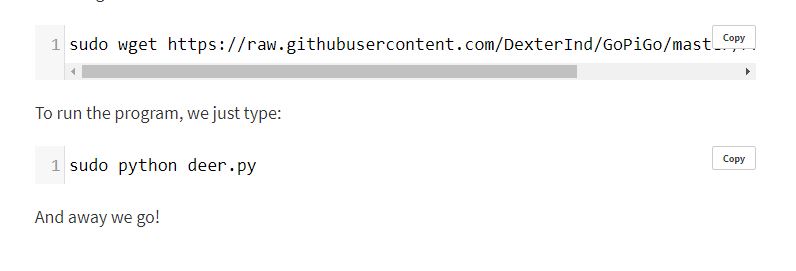
5. Programming
You can get the code here. You can download this directly your Raspberry Pi Robot with the following command in terminal: