Rescuer Learn 1: The Template Notebook
| Site: | GoLabs |
| Course: | Robotic Challenges with Python and GoPiGo |
| Book: | Rescuer Learn 1: The Template Notebook |
| Printed by: | Guest user |
| Date: | Saturday, 4 July 2026, 3:24 AM |
Description

This is the third challenge within the Robotics with GoPiGo and Python Curriculum.
Your task is to design a robot program that can navigate through the maze-like jungle without trampling over any plants or getting stuck in any dead ends.
Learn how to use the Distance Sensor and practice using the left-hand rule of maze-solving.
1. The Notebook
To open this in Jupyter Notebooks, do the following:
- Download the rescuer.ipynb file onto your USB drive
- Plug the drive into a USB port on your robot. A USB-Drive folder will appear in the file explorer of Jupyter Notebooks.
- Double-click on this to open the folder.
- Double-click on the rescuer.ipynb file to open it
The rescuer.ipynb notebook is populated with some code cells. Some are pre-populated for your convenience, some are empty. You will be writing the code for the empty cells.
Let's go over each cell so you are familiar with the anatomy of your notebook.
2. Robot Setup Code
In the first challenge, you saw how to create an instance of the EasyGoPiGo3 class and name it. In the second challenge you practiced writing this setup code.
This time, this code is written for you, assigning the name rescuer to your robot instance.
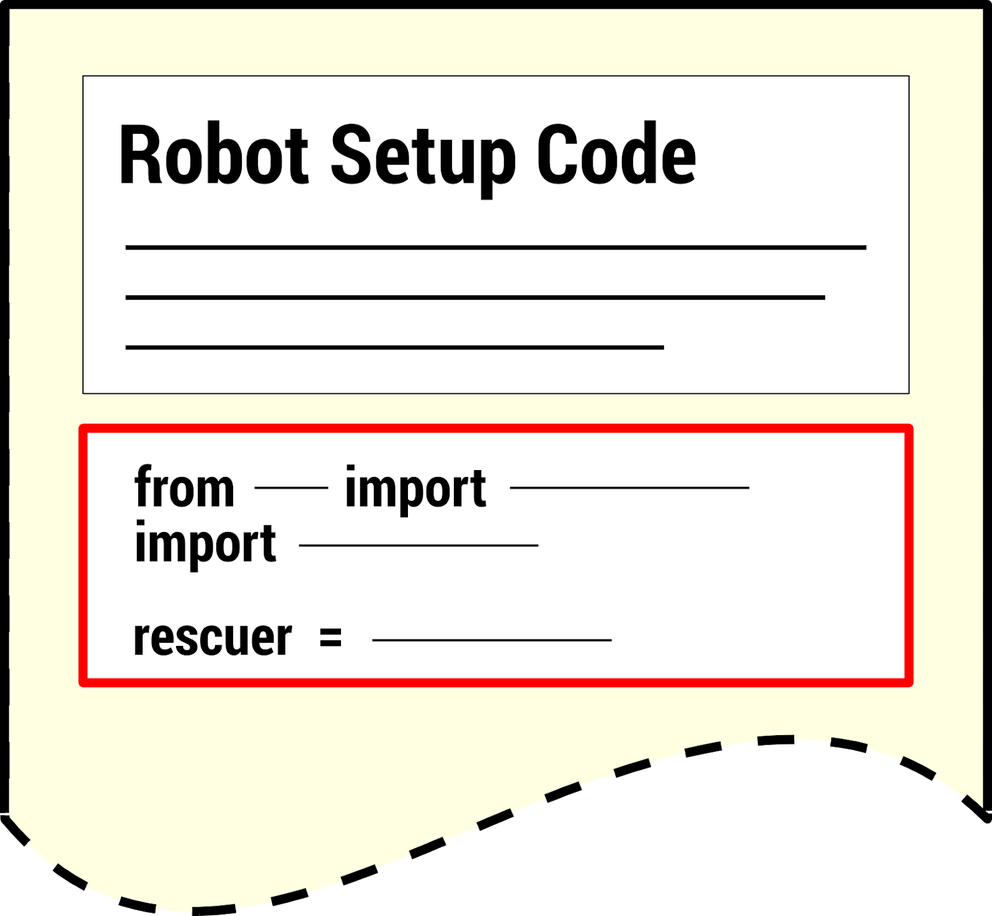
What is the name of your robot instance in this notebook?
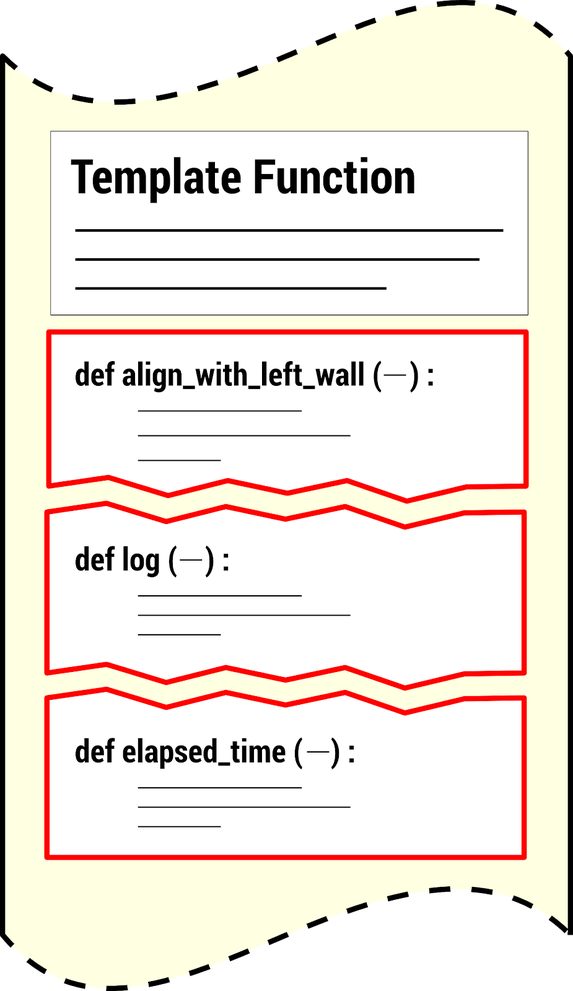
3. Template Functions
You have been provided with some pre-written functions. These will allow you to perform some useful mission-related tasks without having to know precisely how they work.
A description of these functions, along with some example usage, is provided in the markdown cells within the notebook.
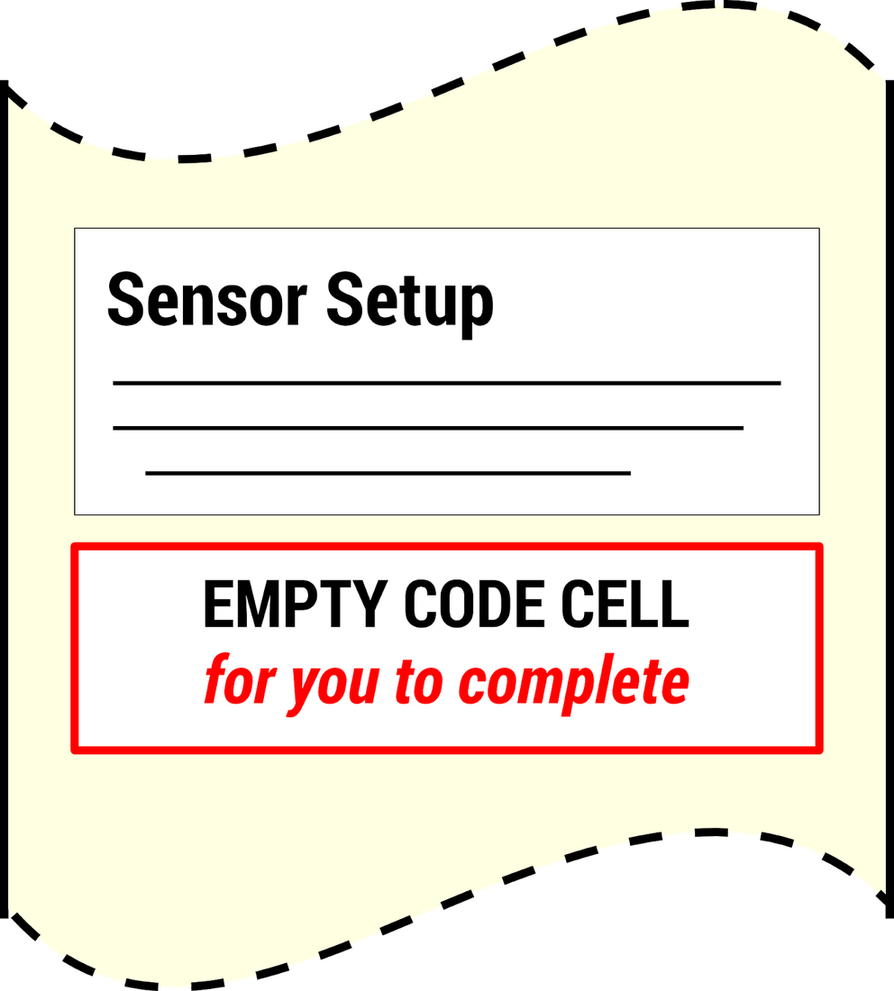
4. Sensor Setup Code
In this cell you will create two instances of these sensors (front-facing and left-facing) and tell your code which ports you plugged them in to so you can measure distances to the nearest wall in front of and to the left of our robot.
Later in the LEARN section you will write the code for this cell.
5. Variable Initialization
This cell contains an empty init() function where you can declare all your program’s variables and give them sensible initial values.
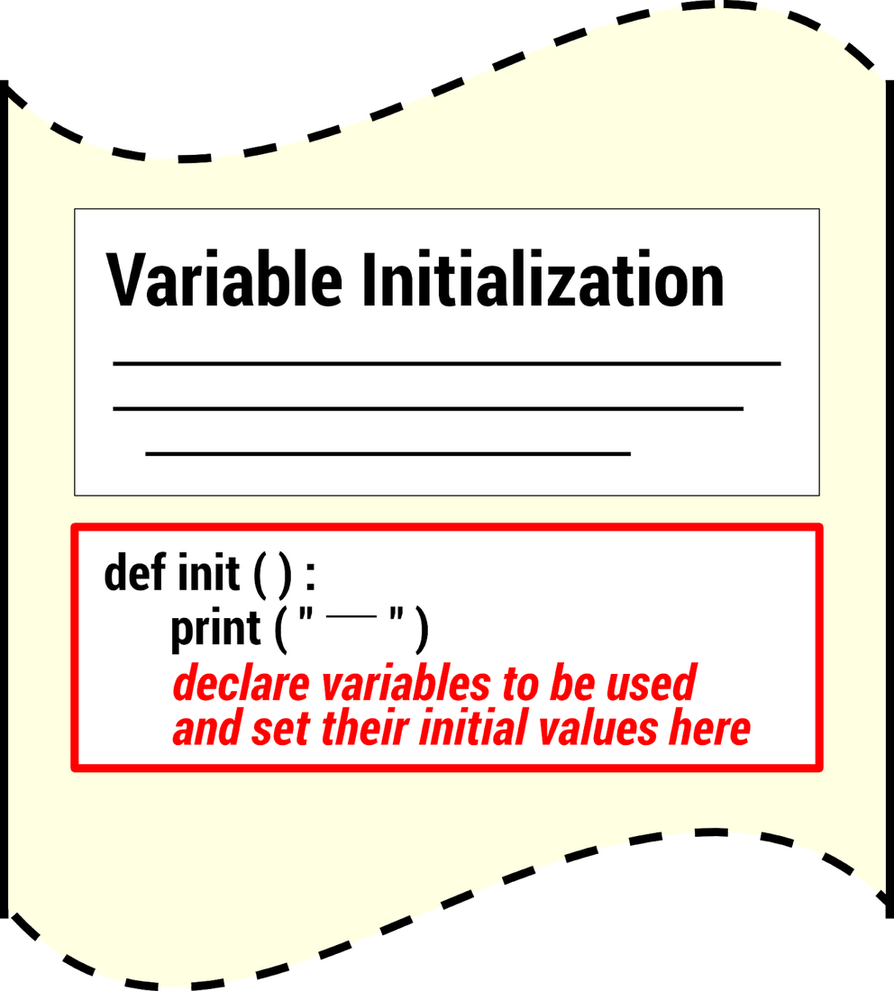
Where do you need to call the init() function?
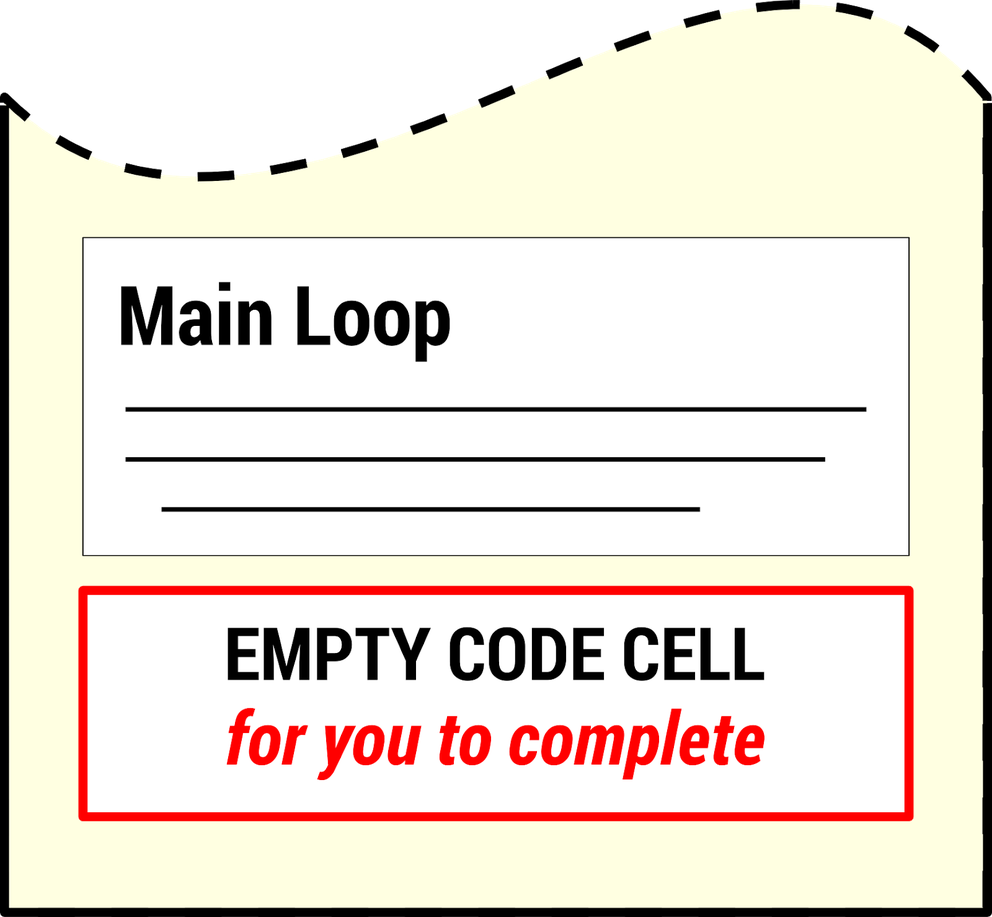
6. Main Code
This is the cell where you will write your project code.
7. Next
You are now ready for the first build session : Rescuer Learn 2: Installing the Distance Sensors. It is needed now for the rest of the mission.