Learn 1: Jupyter Notebooks
| Site: | GoLabs |
| Course: | Robotic Challenges with Python and GoPiGo |
| Book: | Learn 1: Jupyter Notebooks |
| Printed by: | Guest user |
| Date: | Sunday, 21 June 2026, 8:11 AM |
Description

This is the first challenge within the Robotics with GoPiGo and Python Curriculum.
Your task is to program your robot to navigate an area of previously unseen terrain to reach its destination, passing through a number of waypoints.
1. Connect to the Robot
On the robot: Switch on your GoPiGo by pressing the power button located next to the battery connector. Wait for the power light to turn solid green and the light above the robot's eyes (the antenna light) to light up. This tells you that your robot is ready to be connected to.
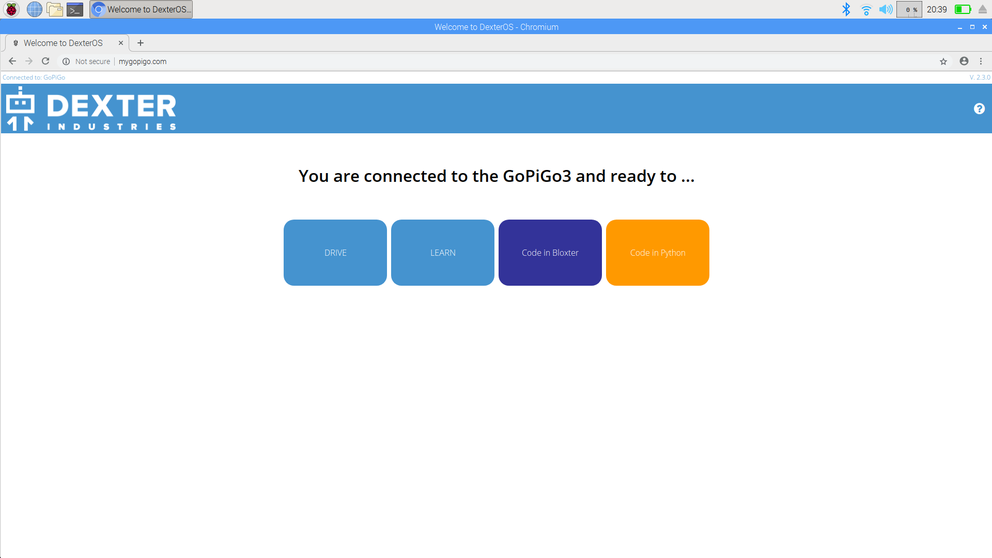
On your laptop: Connect to the WiFi access point assigned to your GoPiGo, open a browser and go to http://mygopigo.com.
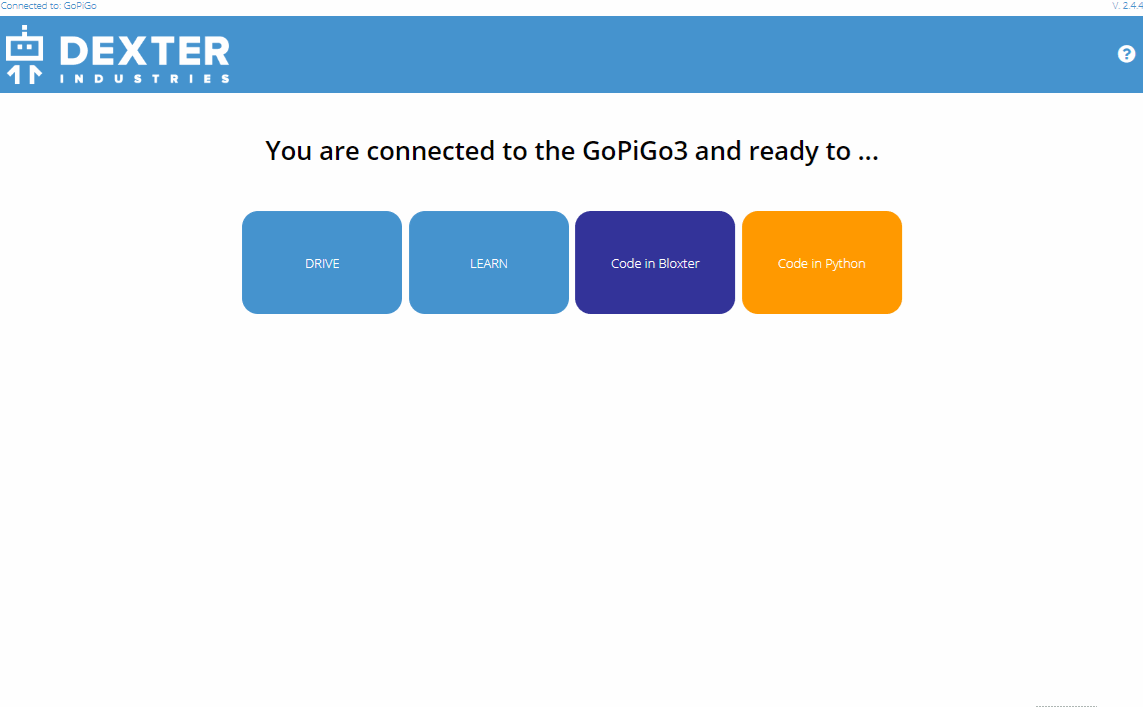
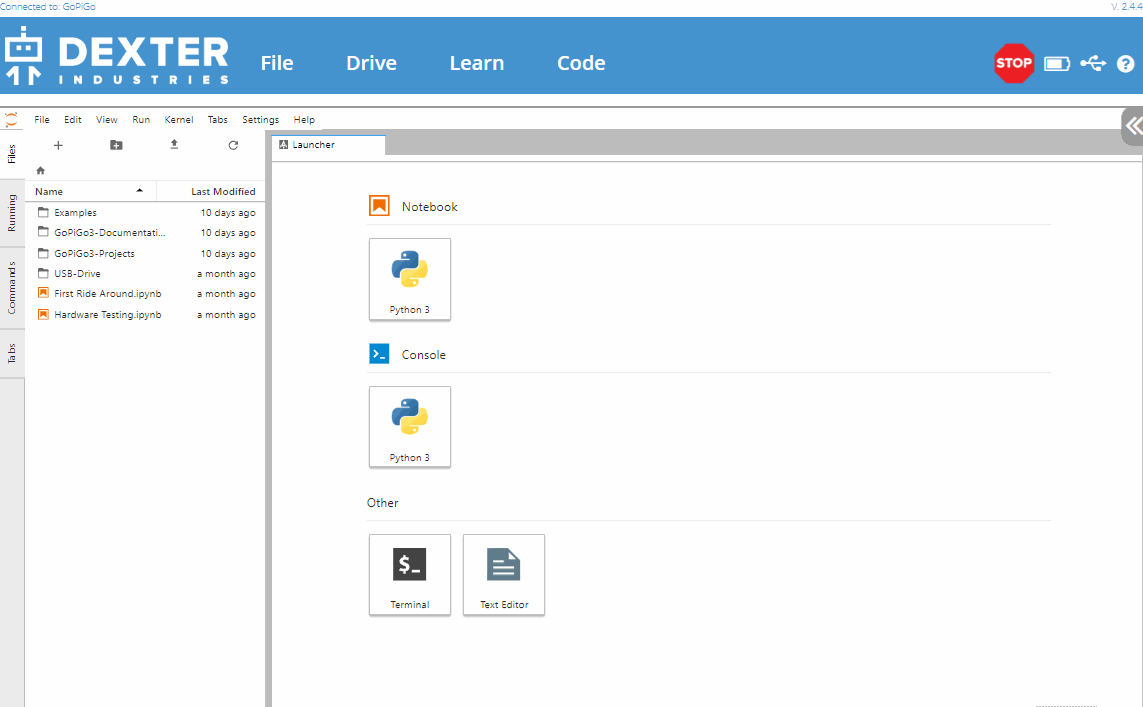
You will now be presented with the GoPiGo home screen.
[For more detailed instructions, visit http://gopigo.io/connect]
2. What is Jupyter Notebook?
Jupyter is a web application that allows you to create and share documents that contain a mix of live executable code, graphs and text. These documents are known as notebooks. Jupyter is pre-installed on the GoPiGo3 so you can instruct your robot with code via your web browser.
This tool and others you will learn about in following missions are serious tools used in scientific research like the one which led to the first black hole image in 2019.
3. Open the first Jupyter Notebook
For this and every other mission in this series we will be programming in Python 3 so click on the Code in Python button on the GoPiGo home screen.
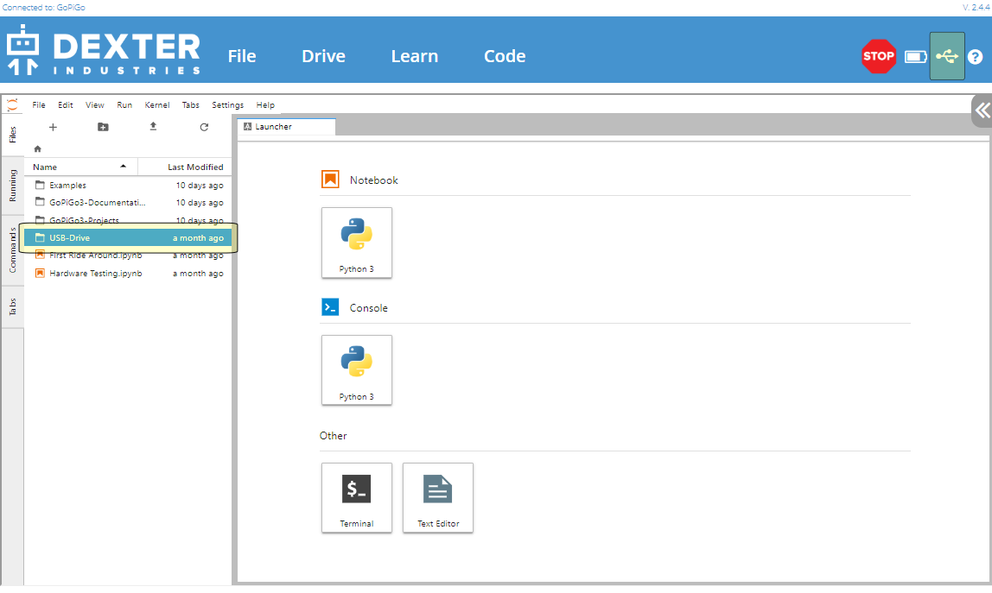
This will bring you to the Jupyter Dashboard.
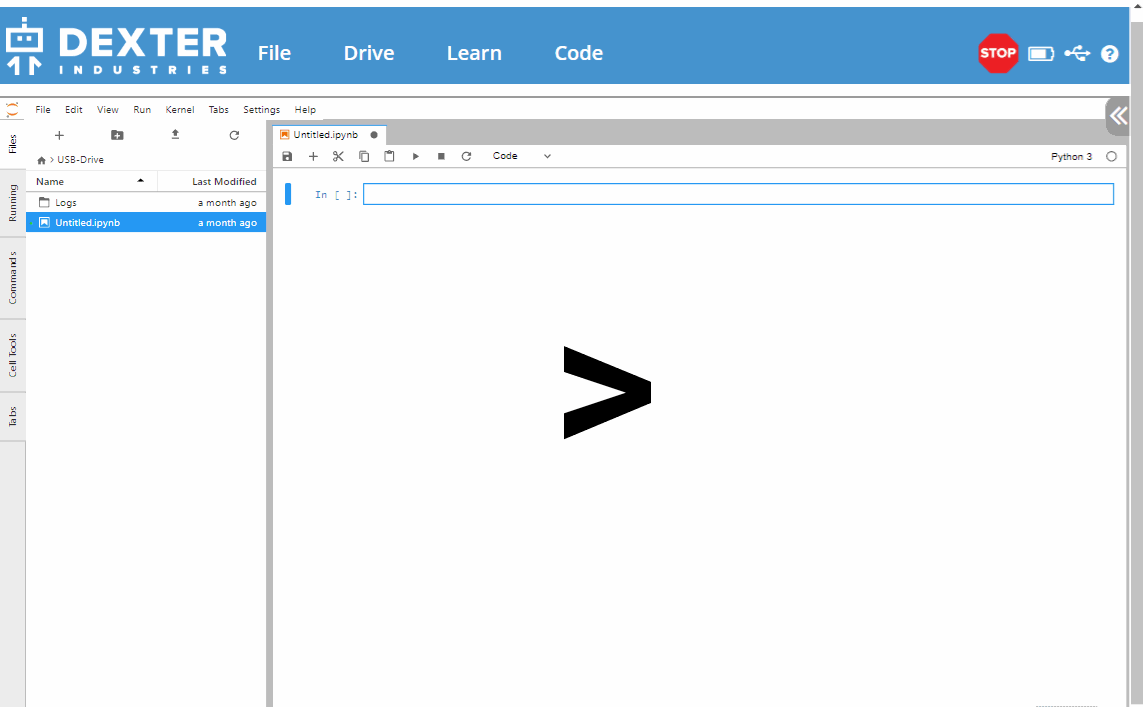
4. Insert a USB Drive
It’s good practice to save your progress regularly to a removable drive.
- Insert a removable USB drive in one of the USB ports directly on the robot, and not on your computer.
This drive will appear as a folder named USB Drive inside of Jupyter and provides a safe place to create new notebooks and save your work.
A USB icon will show up in the top right corner when the USB drive is recognized by the robot.
5. Open a new Notebook
- Select the USB Drive folder.
- In the Jupyter Menu click on File, select New and then Notebook
- If a language selection dialog box appears, select the Python 3 language by hitting Select.
A new notebook will appear, containing a single empty cell ready for us to type code into.
6. Rename the Notebook
When a new notebook is opened it will be given a default name. Let's rename this to something more meaningful.
- Right-click on the notebook tab above your notebook and select Rename Notebook.
- Edit the contents of the New Name field to say orienteer.ipynb
- Hit the RENAME button.
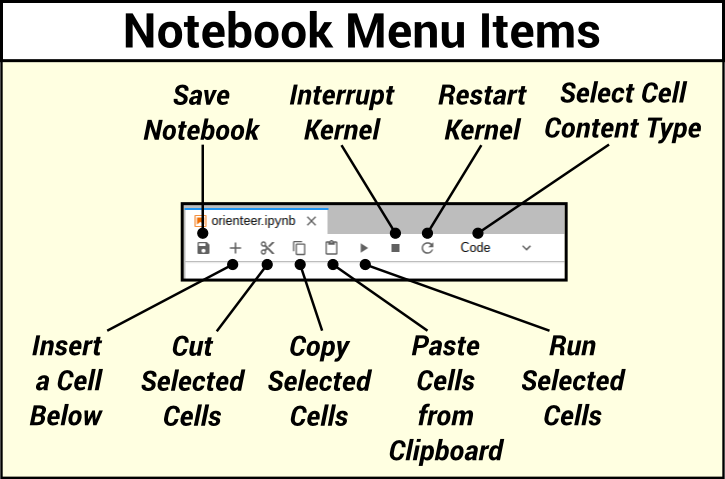
7. The Notebook Menu
There is a selection of icons available at the top of your notebook. These provide you with a simple way to interact with your notebook and cells with a single mouse click.
A lot of the notebook commands available via these icons (and more) can also be found in the Jupyter Main Menu under the Edit menu option.
- Why not click on Edit and take a look for yourself?
8. Next Step
You are now ready for the next Learn step:
Or you might prefer to revisit the main mission page.