Learn 3: 3-2-1-GoPiGO!
| Site: | GoLabs |
| Course: | Robotic Challenges with Python and GoPiGo |
| Book: | Learn 3: 3-2-1-GoPiGO! |
| Printed by: | Guest user |
| Date: | Saturday, 25 July 2026, 7:23 PM |
Description

This is the first challenge within the Robotics with GoPiGo and Python Curriculum.
Your task is to program your robot to navigate an area of previously unseen terrain to reach its destination, passing through a number of waypoints.
1. On Your Marks..
Now that we’ve woken up our robot orienteer, let's tell it to move around. How about a little square dance?
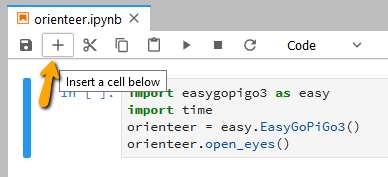
Click on the Insert A Cell Below icon in your notebook to open up a second cell in your Jupyter Notebook.
# trace the 1st side of the square
orienteer.drive_cm(50)
# rotate clockwise 90 degrees
orienteer.turn_degrees(90)
# pause for 1 second
time.sleep(1)
# repeat the same actions for the 2nd side of the square
orienteer.drive_cm(50)
orienteer.turn_degrees(90)
time.sleep(1)
# repeat the same actions for the 3rd side of the square
orienteer.drive_cm(50)
orienteer.turn_degrees(90)
time.sleep(1)
# repeat the same actions for the 4th side of the square
orienteer.drive_cm(50)
orienteer.turn_degrees(90)
time.sleep(1)
NOTE: The # characters are known as comment marks. These tell the robot to ignore everything on the same line that comes afterwards. Robots don’t read the text that follows. Only humans do. This allows us to write notes to ourselves and other people to explain what each line of code is doing. Good comments make code much more readable and understandable for both ourselves and other people.
2. Get Set...
- Put your orienteer robot on the floor.
- Ensure it has about a meter or 3 feet of free space all around it
3. Go!
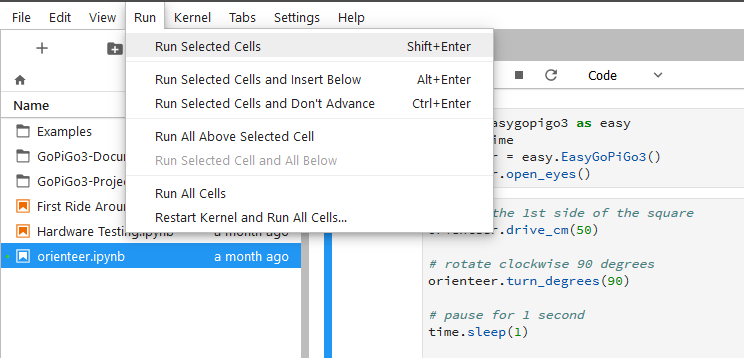
- Make sure this new cell is currently selected (as shown by the vertical blue line to its left)
- Click on the Run Selected Cells icon to run the code.
What do you see happening?
- You should have seen the robot move around in a square.
If that's not the case, perhaps Jupyter gave you an error message?
- If so, check that you’ve typed the above code exactly as shown and re-run the cell.
4. Loops and Iterations
In the above code we repeated the same sequence of drive, turn and sleep instructions four times: once for each side of the square. That's not very efficient, is it?
- What if we wanted to trace out a 12 sided shape?
- What if we then wanted to make that shape bigger or smaller?
You’ll have to edit an awful lot of code, won’t you?
How about if we just tell our robot orienteer the sequence of actions necessary to trace one side of our shape and then instruct it to repeat those actions as many times as necessary?
NOTE:
A sequence of actions that is repeated is called a loop and each repetition of the sequence is called an iteration.
- Click on the Insert A Cell Below icon in your notebook to open up a third cell in your Jupyter Notebook
- Type the following code into it:
# repeat the following actions 4 times (once for each side of the square)
for i in range (0,4):
# trace the side of the square
orienteer.drive_cm(50)
# rotate clockwise 90 degrees
orienteer.turn_degrees(90)
# pause for 1 second
time.sleep(1)
Once the code is entered (pay attention to periods and spaces!) you are ready to test it!
- Click the Run Selected Cells icon to run the code in our new cell.
What do you see happening?
Note :
Indentation: Python is very fussy about indenting your code. Everything indented by the same amount is considered to be part of the same code block. In this case, it’s the set of actions that we want the robot orienteer to repeat. Try deleting the indentation on the time.sleep() instruction at the end and re-running your code. How does this change the behavior?
Go Further:
Try another shape: Now that the code is a lot shorter and more easily editable, can you change it to instruct our robot orienteer to perform a newfangled triangle dance instead?
- How many iterations do you need?
- What is the correct angle of rotation?
5. Useful Functions
In the above examples we introduced you to some easygopigo3 class library functions for driving and turning your robot orienteer.
There are many other functions that let you drive the robot around. Download and keep the following document where we briefly explain what these functions do.
You will be introduced to a few more easygopigo3 class library functions that you might find useful in this mission.