Introduction to 3D Modeling
In this second of five lessons on the Engineering Design Process, students will 3d model a license plate or flag for their GoPiGo robot using a color (basic) or the name they chose (advanced) in Lesson 1 (In lesson 1, we chose a name for our robot based on our favorite engineer, inventor or computer scientist). This lesson uses the free website Tinkercad.com to begin the process of 3d modeling. Upon completion of this lesson students will have a .stl file of a license plate or flag which can be printed on classroom 3d printers and will be able to be attached to the GoPiGo.
2. Plan: How will you differentiate your GoPiGo?
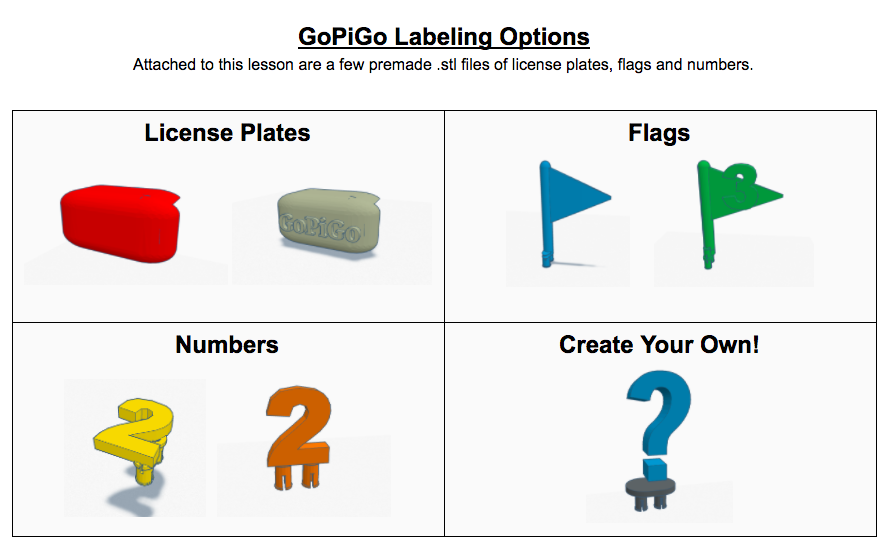
There are many ways to attach items to your GoPiGo to give it unique characteristics. In this unit, we are going to design and 3d print parts to attach to our robot using pegs that will fit into the preexisting holes on the robot's body. Use the design options here to decide if you would like to make a license plate, flag, number, or something different to label your robot.