Introduction to 3D Modeling
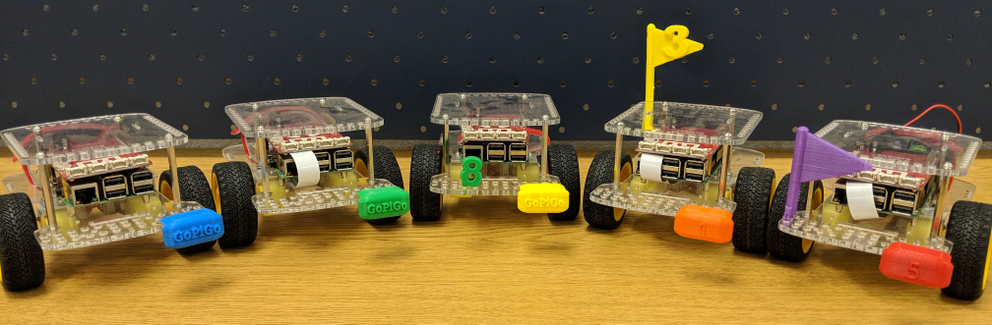
In this second of five lessons on the Engineering Design Process, students will 3d model a license plate or flag for their GoPiGo robot using a color (basic) or the name they chose (advanced) in Lesson 1 (In lesson 1, we chose a name for our robot based on our favorite engineer, inventor or computer scientist). This lesson uses the free website Tinkercad.com to begin the process of 3d modeling. Upon completion of this lesson students will have a .stl file of a license plate or flag which can be printed on classroom 3d printers and will be able to be attached to the GoPiGo.
3. Create: Use an example file or create your own
Attached are several .stl files which can either be printed blank or imported into Tinkercad and customized. Choose the file for the design you would like to use. You can print a blank license plate or customize your file if you're ready.
Basic Instructions: Load your favorite color into the printer! The file is ready to be printed.
Advanced Instructions: Choose a .stl file and import it into Tinkercad. You will now be able to add your own style to the design. You will need a basic understanding of how Tinkercad works to do this. If you are new to Tinkercad or 3d modeling, it is suggested you take time to complete my Tinkercad Basics Tutorial before moving on in this lesson. If you are familiar with Tikercad, have fun, we'd love to see what you come up with!
*For specifics on working with the license plate file, it may be helpful to refer to a previous license plate project. This lesson shows the steps to add your own name to the license plate.